How to Shut Off a Water Valve Safely?

Knowing how to shut off a water valve can prevent a small leak from becoming expensive damage. A dripping supply line may release gallons while you search for tools. The correct shut off valve depends on the problem. A fixture valve usually sits beneath a sink, behind a toilet, or beside a washing machine. The main valve is often near the water meter, basement wall, or building entrance. Locate both before an emergency happens.

Stay calm. Turn slowly. For a round handle, rotate it clockwise until it stops. For a lever, move it across the pipe. Do not force it. Corrosion can make an old valve fragile, and excessive pressure may break the stem. After closing the valve, open a nearby faucet briefly. This releases trapped pressure and confirms whether the water has stopped. A small amount of remaining water is normal.

Reliable guidance also requires checking the valve’s condition, not just its position. Look for rust, mineral deposits, damp threads, or a handle that spins without resistance. These signs may indicate a failing valve. Manufacturer instructions and advice from a licensed plumbing professional should guide repairs, especially in older properties. A common mistake is assuming one valve controls the entire home. It may only serve one fixture. Another is closing the valve but forgetting to test it. That oversight can delay repairs and worsen damage. This process is simple, but not risk-free. When water continues flowing, stop experimenting and seek qualified help.
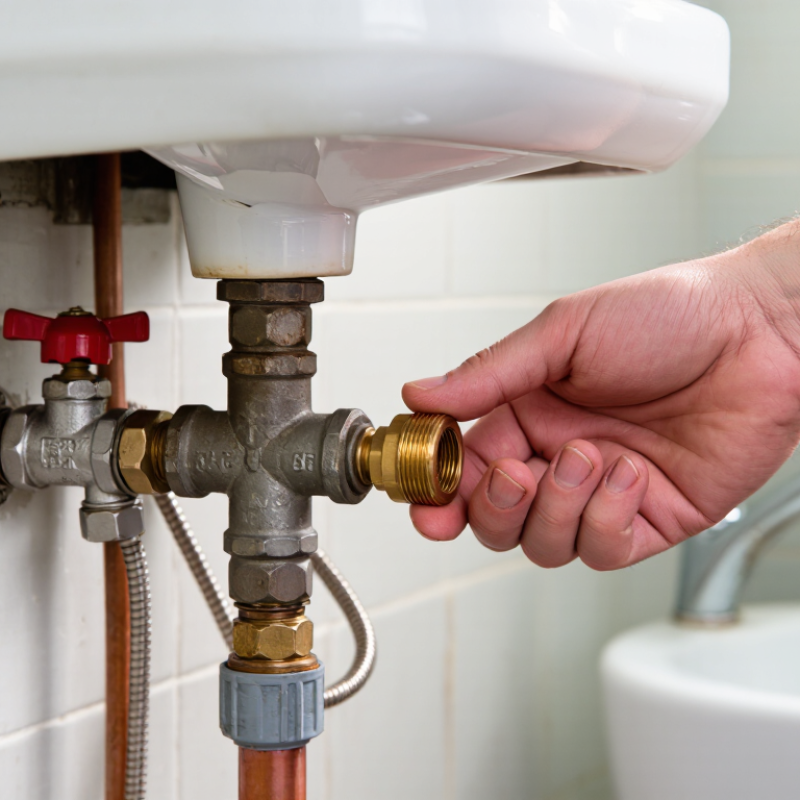
How to Shut Off a Water Valve Safely?

Identify the Water Valve and Clear the Area

How to Shut Off a Water Valve Safely?

Identify the Water Valve and Clear the Area

Start by locating the main water valve before touching it. Common positions include the basement, utility room, crawl space, or near the water meter. Trace the incoming pipe from the meter. The main valve is usually installed where that pipe enters the building.

Do not assume every nearby handle controls the whole house. Test a cold-water faucet after turning the valve slowly clockwise. If water continues flowing, stop and reassess. Some older valves are stiff, corroded, or poorly labeled. Forcing one can cause a leak. I have found that a flashlight and a dry cloth reveal cracks that casual inspection misses. Small details matter.

Clear the work area first. Move boxes, rugs, and electrical equipment away from standing water. Place a bucket under visible drips, then keep a towel within reach.

The U.S. Environmental Protection Agency reports that household leaks can waste nearly 10,000 gallons annually. It also estimates that 10% of homes have leaks wasting at least 90 gallons daily.

Water damage is expensive, too. An Insurance Information Institute analysis of 2017–2021 claims found water damage and freezing represented about 21.5% of homeowners’ claims, with average losses exceeding $12,000. Do not rush. A second check is sensible, because the wrong valve can leave pressure in the line.

Turn Off the Main Water Supply Safely

Turning off the main water supply safely starts with locating the main shutoff valve. It is often near the water meter, where the service pipe enters the house. In some homes, it sits outside near the property line. Clear the area first. Wet floors can become dangerously slippery.

Turn the valve slowly clockwise. A quarter-turn lever should sit across the pipe when closed. A round handle usually needs several gentle turns. Do not force it; an old valve may break or leak. Open a nearby cold-water faucet afterward. This releases pressure and confirms the supply is off. The U.S. Environmental Protection Agency’s WaterSense program reports that household leaks can waste nearly 10,000 gallons of water yearly. Its leak guidance also notes that about one in ten homes has leaks exceeding 90 gallons daily. A working shutoff can limit that waste quickly.

Tips: Keep a flashlight and adjustable wrench nearby. Label the valve clearly. Test it twice a year. If the handle turns but water continues flowing, stop adjusting it and contact a qualified plumber. I have found that “closed” does not always mean fully closed. Pipes may still hold pressure, and a dripping faucet can continue briefly. Take a photo of the valve before an emergency; small details are easy to forget.

How to Shut Off a Water Valve Safely?

Turn the main water supply valve clockwise until it is closed. Ball valves usually close with a quarter-turn, while multi-turn gate valves require several complete turns. Never force a stuck valve.

After closing the valve, open a nearby faucet briefly to release pressure and confirm that the water stops. When restoring supply, turn the valve counterclockwise slowly and check for leaks. The number of turns shown for multi-turn valves is typical and may vary by valve design.

Release Pressure from the Plumbing System

How to Shut Off a Water Valve Safely?

Before repairing a pipe, close the main water valve firmly by hand. Do not force a stiff handle with tools. For a quarter-turn valve, the handle should sit across the pipe. For a wheel valve, turn it clockwise until resistance increases. Leave it there.

Now release pressure from the plumbing system. Open the lowest cold-water faucet in the building first. Then open another faucet upstairs to let air enter the lines. Water may sputter, rush, or appear cloudy for a moment. Keep a bucket beneath the faucet. If hot-water lines are involved, allow the system to cool before opening any connection. Hot water can cause serious burns. Flush nearby toilets until they stop refilling. A pressure gauge should approach zero, but do not rely on the gauge alone.

Wait several minutes and test the faucet again. A small stream may continue because water remains trapped in the pipes. Never loosen a fitting while pressure is uncertain. I once assumed a closed valve was enough, but a second supply line still carried pressure. That mistake caused an unexpected spray and a wet cabinet. Check for hidden branches, pumps, or elevated storage tanks. After the repair, close the faucets and reopen the valve slowly. Watch every joint with a dry paper towel. Even a tiny damp mark deserves attention.

Check for Leaks and Confirm the Water Is Off

How to Shut Off a Water Valve Safely?

Before turning a valve, inspect the area for dripping joints, rust, or cracked fittings. Place a towel beneath the connection. Turn a quarter-turn valve slowly until the handle sits across the pipe. For a wheel valve, rotate it clockwise without forcing it. A stiff valve can break, especially in older plumbing. That mistake can create a larger leak.

Now confirm the water is actually off. Open the nearest cold-water faucet and watch the stream weaken. It should stop within several seconds, although residual pressure may remain. Check the toilet tank or another fixture on the same line. Touch the valve body with dry tissue; even a small wet mark matters. The U.S. Environmental Protection Agency’s WaterSense program reports that household leaks can waste nearly 10,000 gallons of water annually. A silent valve leak deserves attention.

Check the meter if the property has one. After all fixtures are closed, the indicator should remain still. If it moves, water may still be flowing underground or through another branch. Do not tighten a leaking packing nut aggressively. Use a wrench only for controlled support, never as a substitute for judgment. I have seen people test a valve by reopening it too quickly, then blame the fitting when water sprays. That habit needs reconsideration. If the handle snaps, the pipe twists, or water reaches electrical equipment, step away and contact a qualified plumbing professional.

How to Shut Off a Water Valve Safely: Check for Leaks and Confirm the Water Is Off
Step Action What to Check Expected Result Safety Note
1 Locate the correct water shut-off valve. Identify the valve serving the leaking fixture, appliance, or affected section of the plumbing system. The correct valve is clearly identified before it is operated. Do not close a valve unless you are certain it controls the affected water line.
2 Prepare the area around the valve. Remove items that could obstruct access and place a container or towel beneath nearby fittings. Water can be collected safely if residual water drains from the pipe. Keep electrical equipment and power strips away from standing water.
3 Close a quarter-turn ball valve. Turn the handle clockwise until it is perpendicular to the pipe. The handle is perpendicular to the pipe, indicating the valve is closed. Use steady pressure. Do not force a seized handle with excessive leverage.
4 Close a multi-turn gate or globe valve. Turn the handle clockwise until it stops naturally. The handle stops and water flow begins to decrease. Do not overtighten, because excessive force can damage the valve stem or packing.
5 Open the affected faucet or fixture briefly. Observe whether water continues to flow after the valve is closed. Water may flow briefly, then reduce to a trickle and stop as pressure is released. Direct the flow into a sink, bucket, or drain to prevent splashing and water damage.
6 Check the valve and nearby connections for leaks. Inspect the valve body, stem, threaded connections, supply hose, and surrounding floor or cabinet. No continuous dripping, spraying, or growing puddle is present. A leaking valve may require a secondary shut-off or professional repair.
7 Confirm that water is fully off. Leave the faucet open and check the flow for at least 30 seconds after residual pressure is released. Only isolated residual drops remain, with no continuing flow. Water may still be present in the pipe even when the supply has been shut off.
8 Monitor the area for several minutes. Recheck the valve, fittings, floor, wall, and cabinet base for new moisture. No new moisture appears and the leak is contained. Dry visible water promptly to reduce the risk of slipping and material damage.
9 Record the valve position and condition. Note whether the valve is fully closed, difficult to operate, corroded, or leaking. A clear maintenance record is available for future use. A valve that will not close completely should be repaired or replaced before an emergency.
10 Restore water only after the issue is safe to address. Close opened faucets, inspect connections, and turn the valve counterclockwise slowly. Water returns gradually without sudden spraying or uncontrolled leakage. Remain near the valve during reopening and check for leaks immediately.

Restore Water Flow and Inspect the Valve

How to Shut Off a Water Valve Safely?

After closing the main water valve clockwise, open the nearest cold-water faucet. This releases trapped pressure and confirms that the supply has stopped. The U.S. Environmental Protection Agency’s WaterSense program reports that household leaks waste more than 1 trillion gallons annually in the United States. A reliable shutoff routine can prevent a small leak from becoming a costly repair.

Restore water flow slowly. Turn the valve counterclockwise, then keep one faucet slightly open for several seconds. Listen for banging pipes or irregular water sounds. Inspect the valve body, stem, packing nut, and nearby connections with a flashlight. Look for fresh drops, green corrosion, cracked fittings, or moisture on the wall. Insurance industry claims data summarized by the Insurance Information Institute places water damage and freezing at roughly 29% of homeowners’ claims in recent five-year tables. That figure makes a careful inspection worthwhile. I have found that the valve itself often looks dry, while the joint behind it quietly drips.

Tips: Never force a stiff valve. Use a cloth for grip, not excessive leverage. Check lower cabinets and flooring after reopening the supply. If the handle turns but water does not return, the internal gate may be damaged. If the valve leaks around its stem, close the main supply again and arrange qualified plumbing service. Take a photo before touching anything. It helps, though it is not a substitute for judgment.