
Humidity affects comfort, drying time, and the way wood, instruments, and stored goods respond to a room. Yet a humidity reading is only useful when the meter is placed and used correctly. A Meter To Measure Humidity, often called a hygrometer, estimates relative humidity: the amount of moisture in the air compared with the maximum it can hold at that temperature. The number on its display is not a direct measure of water droplets. That distinction matters. A reading of 50 percent in a cool room does not describe the same conditions as 50 percent in a warm one.
For a practical measurement, check the meter’s instructions and battery, then place it away from windows, heaters, kitchens, and air vents. Hold it near the area you want to assess, or leave it there for the stabilization time recommended by the manufacturer. Some devices settle within minutes; others need longer. Keep the sensor uncovered, and note the room temperature alongside the humidity value. If results seem surprising, take another reading in a nearby spot and compare them. It is easy to trust a tidy number too quickly. Dust, poor placement, and an overdue calibration check can all affect accuracy. Small details matter. This guide explains how to read the display, choose a useful location, check measurement reliability, and interpret the result without treating one reading as the whole story.
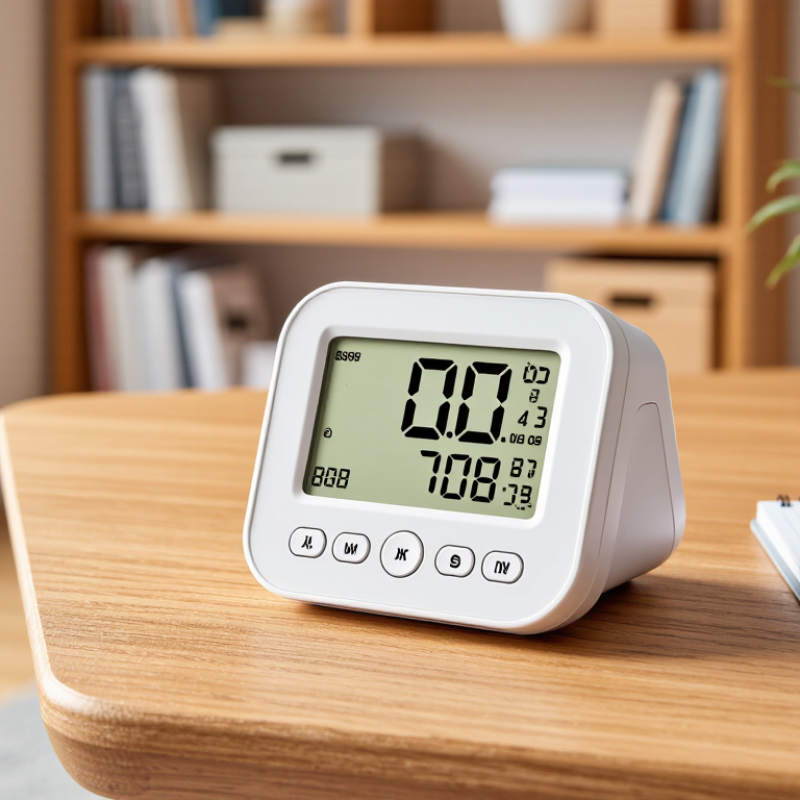
A humidity meter usually reports relative humidity, or RH. This is the amount of water vapor in the air compared with the maximum the air could hold at that temperature. The result appears as a percentage. An RH reading of 50% does not mean that half the air is water. It means the air contains about half its current moisture capacity.
Temperature changes that capacity. If the same air warms up, its relative humidity can fall even when no water vapor leaves the room. That distinction is easy to miss. A meter describes conditions near its sensor, not the moisture inside a wall, carpet, or piece of wood. A reading beside a cold window may differ from one across the room, especially when surfaces and airflow vary.
Many meters use a sensor that changes its electrical response as water vapor changes. Give the device time to adjust after moving it. Keep it away from direct sunlight, heaters, open windows, and your warm hand. Small placement choices matter. One reading can look exact while still representing only one spot and moment. I sometimes catch myself treating a single number as a verdict; repeated readings in the same location give a more useful picture. If the value seems implausible, check the device instructions and compare it with a reliable reference.
Choose a meter that matches the space you plan to check. A compact digital hygrometer suits a bedroom or storage cabinet, while a probe can help in a narrow area. Look for a stated accuracy range, a clear display, and readings in relative humidity (RH). A simple meter is often enough. Read the manual. An inexpensive unit may drift, so avoid treating every displayed digit as exact.
Before measuring, check the battery and let the meter sit indoors for the time specified by its instructions. Keep it away from windows, vents, direct sunlight, and warm electronics; these can skew readings. For a basic check, compare it with a trusted second meter, or follow the maker’s calibration guidance. Some meters can be checked in a sealed container with damp salt, which creates a known humidity near room temperature. The sensor must not touch the mixture, and the reading may take several hours to settle. It is tempting to trust the first number. Wait, then check again. This small delay is easy to skip, but it can change how confidently you interpret the result.
| Decision or Preparation Step | What to Choose or Do | Useful Data or Check | Why It Matters |
|---|---|---|---|
| Measurement purpose | Choose a handheld hygrometer for spot checks, or a meter with a logging function when readings must be recorded over time. | Spot checks provide individual readings; data logging can capture readings at set intervals, such as every 5 or 15 minutes. | The right function makes it easier to collect the type of evidence the task requires. |
| Humidity range | Check that the meter’s stated measurement range covers the conditions you expect to encounter. | Many general-purpose meters cover approximately 0–100% relative humidity (RH), but the usable accuracy range may be narrower. | A displayed range does not guarantee the same accuracy across the entire range. |
| Accuracy specification | Review the accuracy stated in the meter’s documentation, including any temperature or humidity limits. | A specification such as ±2% RH means the reading may differ from the actual value by up to 2 percentage points under the stated conditions. | Accuracy helps determine whether the meter is suitable for the required measurement. |
| Sensor type | For common room and building checks, a digital meter with a capacitive humidity sensor is a practical option. Select a specialized instrument when tighter control or reference measurements are needed. | Capacitive sensors are widely used in portable humidity meters; sensor performance and response time vary by model. | Sensor type affects response, maintenance needs, and suitability for the measurement environment. |
| Temperature measurement | Prefer a meter that measures temperature alongside relative humidity when recording environmental conditions. | Record temperature in °C or °F with each RH reading; relative humidity changes as air temperature changes. | Temperature provides essential context for comparing readings taken at different times or locations. |
| Condition of the meter | Inspect the sensor opening, probe, display, and battery compartment. Replace weak batteries and remove dust from the exterior using the method allowed by the manufacturer. | Do not touch the sensing element or apply liquid cleaners directly to it. | Damage, contamination, or unstable power can affect readings or prevent reliable operation. |
| Calibration or verification | Check the calibration status and follow the instrument instructions for verification or calibration before use. | A humidity reference device or suitable humidity standard can be used for a check; follow its specified temperature, sealing, and equilibration requirements. | Verification can reveal drift, but the result is only meaningful when the reference procedure is followed correctly. |
| Acclimatization | Let the meter reach the temperature of the measurement area before taking a reading, following the specified response or stabilization time. | Keep the sensor exposed to the air being measured and away from direct breath, sunlight, heaters, or air-conditioning outlets. | Temperature changes and nearby heat or moisture sources can temporarily distort a reading. |
| Reading readiness | Place the meter at the intended measurement point, hold it steady, and wait until the reading stabilizes. | Record the RH value, temperature, location, date, and time. Repeat the measurement if the value is changing noticeably. | Consistent positioning and complete notes make results easier to interpret and reproduce. |
Note: Always use the meter within its specified operating conditions. Accuracy, response time, and calibration procedures vary by instrument.
Place the humidity meter where the air can move freely around it. A shelf near the center of the room, roughly chest height, is often a practical choice. Keep it away from sunny windows, radiators, cooking areas, and air-conditioning vents. These sources can create small pockets of unusually warm, cool, or damp air. Not there.
Avoid placing the meter directly against an exterior wall or inside a cabinet. Those spots may not reflect the conditions where people spend time. In a bedroom, for example, a dresser away from the window and heating vent can provide a more representative reading. Keep the device out of reach of splashes and humidifiers, too. A nearby humidifier may make the displayed value look reassuringly high while the rest of the room remains drier.
Give the meter time to adjust after moving it; check its instructions for the recommended waiting period. Take a reading only after it has settled, and avoid holding it in your hand while measuring. Your fingers can warm the sensor. If readings seem inconsistent, compare another suitable spot rather than assuming the meter is faulty. I have to remind myself that one convenient location is not always a representative one. Different rooms, and even opposite sides of the same room, can vary.
Illustrative example: Relative humidity readings can vary across a room. Place the meter at a representative indoor location, away from direct sunlight, windows, exterior walls, vents, and humidifiers. Allow the reading to stabilize before recording it.
Wait for the meter reading to settle before interpreting it. Not instantly. Many humidity meters need a few minutes after being moved, especially when brought in from outdoors. The display usually shows relative humidity as a percentage. A reading of 45% means the air holds about 45% of the moisture it could hold at that temperature. That number is useful, but it is not a complete picture. Still, one reading can mislead. Direct sunlight, a nearby radiator, or a damp wall can affect the result. Place the meter at breathing height, away from windows and vents, and check the room again later.
For many homes, 30–50% relative humidity is a practical comfort range, though climate and building conditions matter. Below that, dry skin or static may become noticeable; above it, windows may fog and musty smells can develop. Look for repeated readings, not a single peak after a shower or while cooking. That matters. If levels stay high, check for leaks, poor ventilation, or moisture trapped in fabrics. If readings seem odd, compare the meter in another room and consult its instructions about accuracy. Small changes can come from ordinary temperature shifts, so avoid treating every percentage point as a problem. A simple log helps reveal the pattern.
After taking a humidity reading, check whether the meter is giving a trustworthy result. Look up its stated accuracy range, often shown as a plus-or-minus percentage. A reading of 50% RH may not mean exactly 50%. Keep the meter away from sunlight, heaters, and damp surfaces while it settles. Wait until the display stops changing; some meters need several minutes. For a useful cross-check, compare it with a second reliable meter in the same room. Differences can come from sensor limits, placement, or temperature—not necessarily a faulty device.
Tips: Check the manual’s accuracy range. Keep the sensor unobstructed. Note the room temperature, too.
Record the relative humidity, temperature, date, time, and exact location. “Bedroom, near the window” is more useful than “indoors.” Use the same spot and wait time for later readings, especially when tracking a damp room or checking a dehumidifier’s effect. Take two readings a few minutes apart if the number seems unusual. I once trusted a quick reading too much; the meter was still adjusting. That small delay matters. A simple log helps reveal patterns, while one isolated number can be misleading.